
If you're like me and decorating on a budget, but still need really nice looking things, a quick DIY project can spruce up the most basic furniture pieces, or dress up a bare wall. Here are a few things I did in my small apartment that didn't take too much time or money, but really helped glam up the space.

SHELF AND DESK UPGRADE
What you'll need:
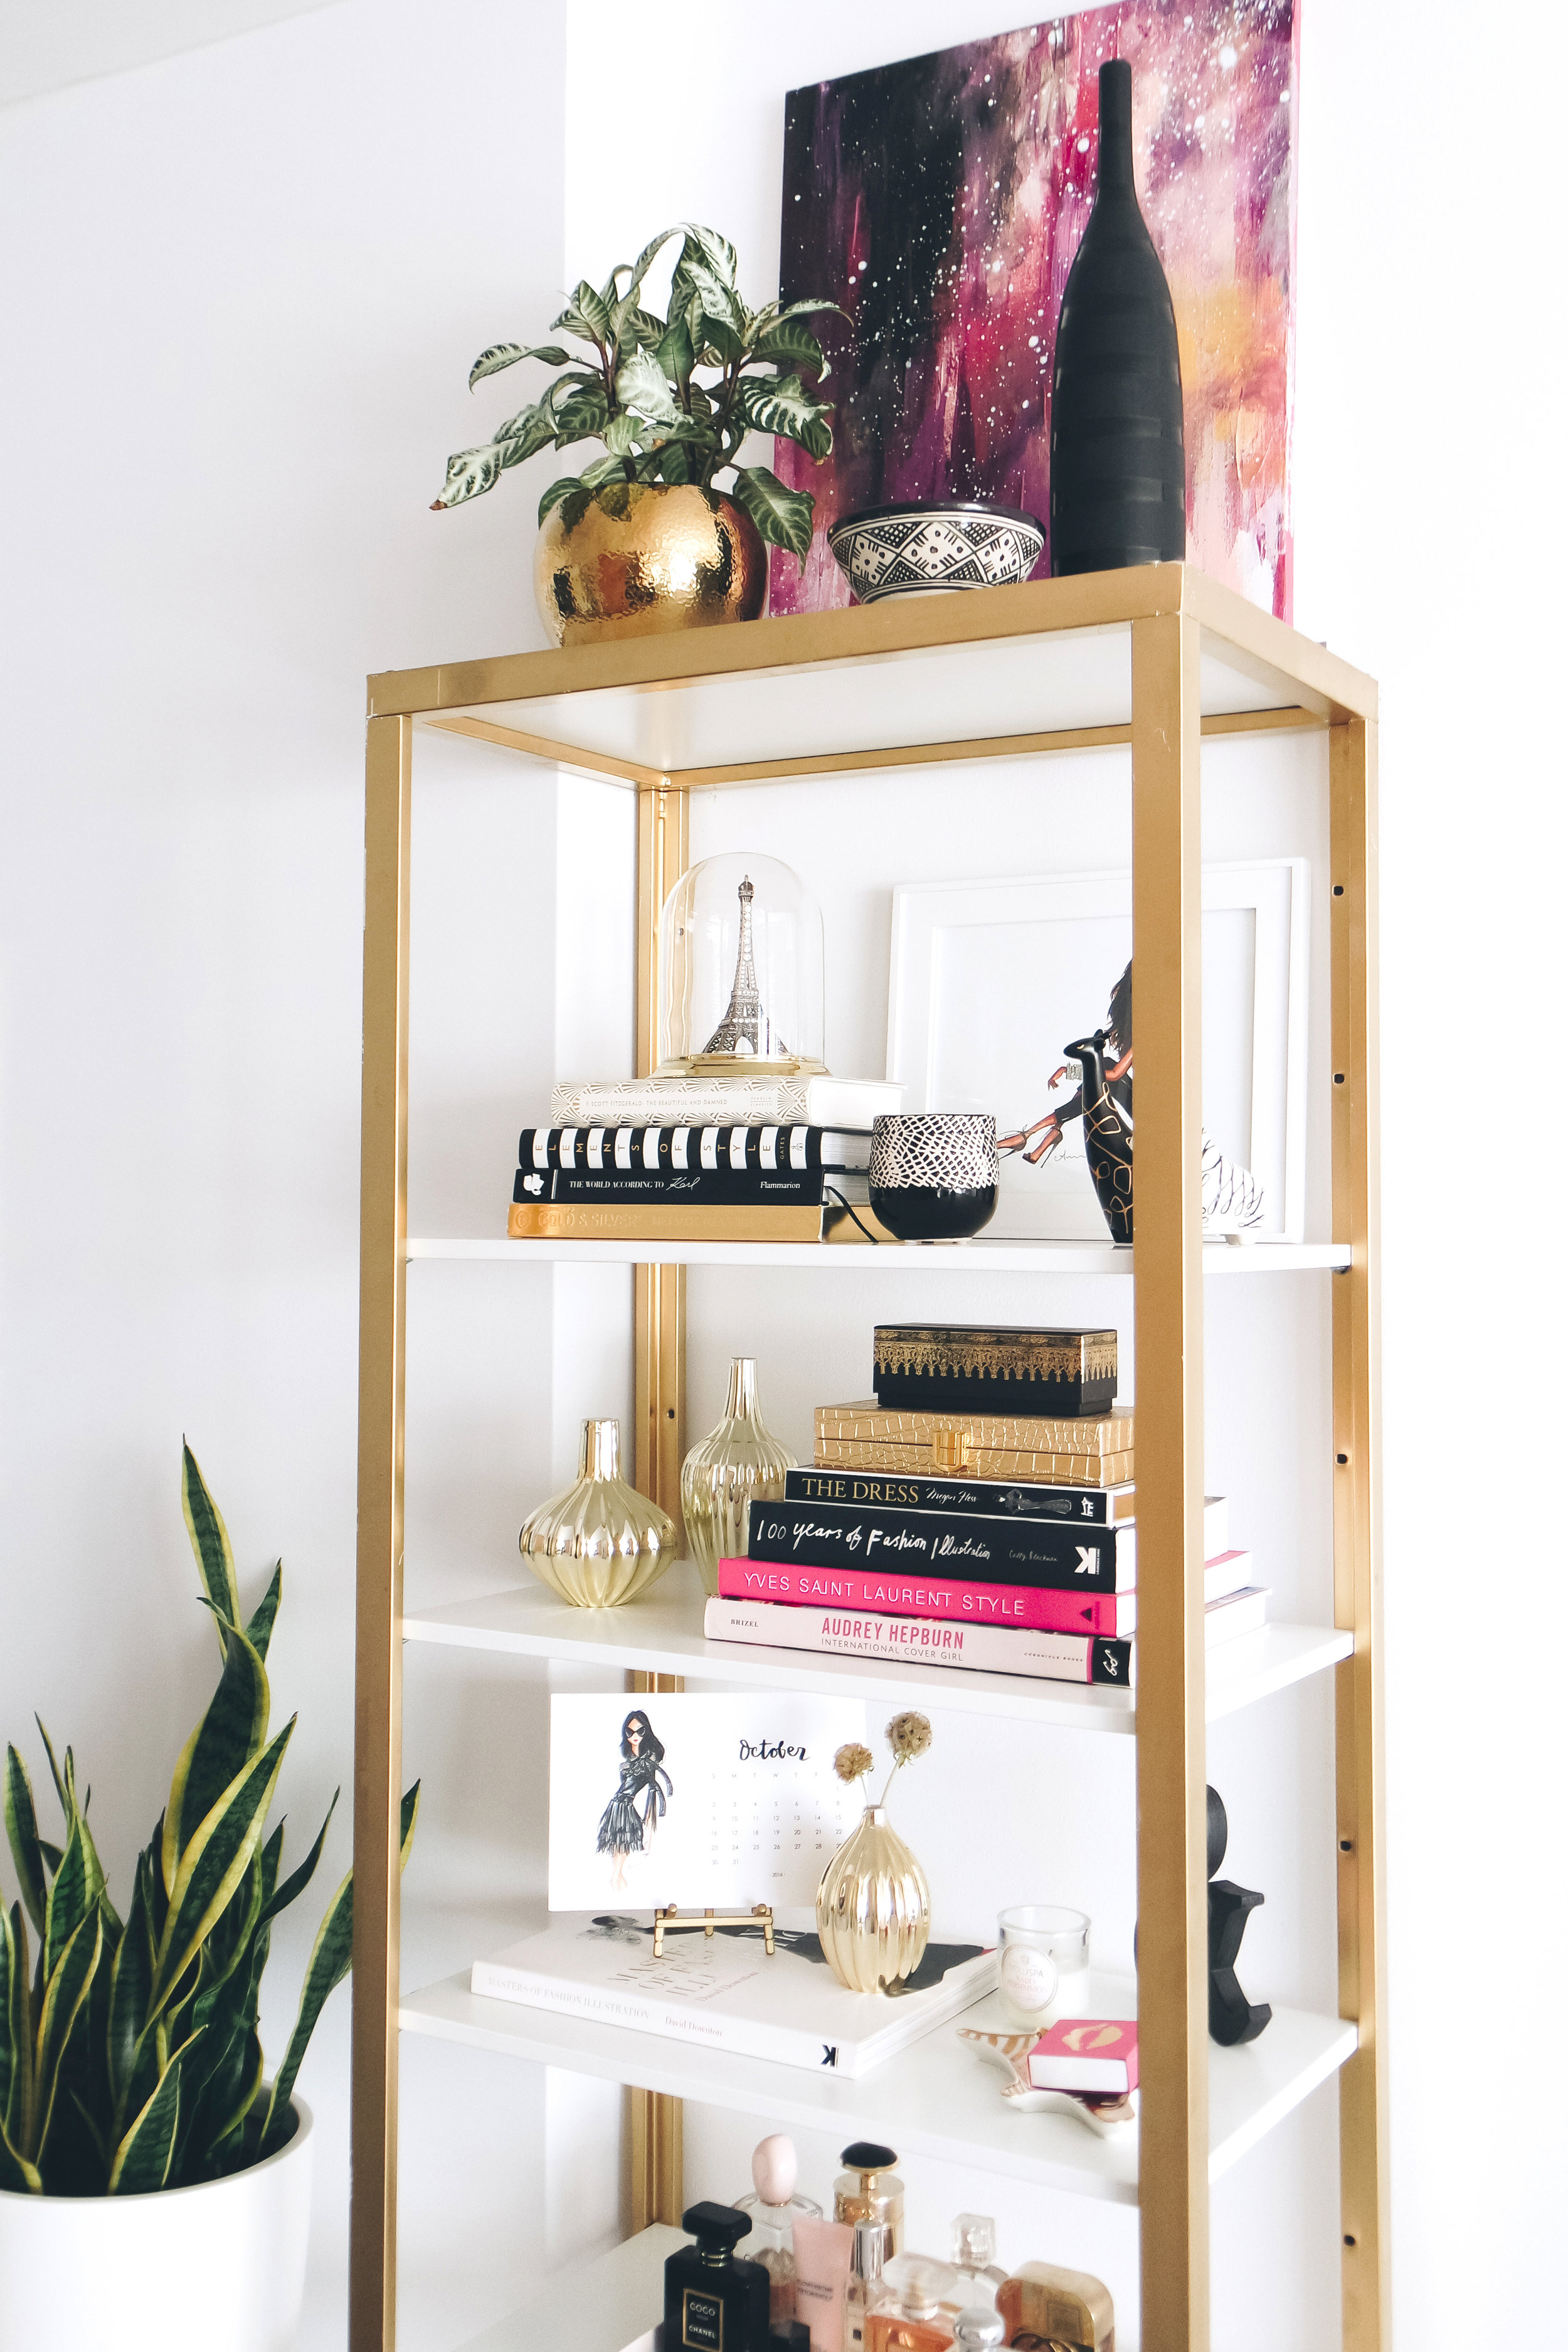
I started with the Ikea Vittsjo shelf in white. (When I got it, it actually came with these white shelves, though it looks like online it comes with glass shelves.) Then I spray painted just the frame in three light, even, coats. My preferred gold spray paint is Rust-oleum Metallic in Gold. You're obviously not going to achieve that dipped-in-gold-shiny-metal-finish with spray paint, but this is the best option in terms of the shade of gold, sheen, and coverage. When it's all dry, you can also spray with a clear sealant to prevent nicks and scratches.
I get a lot of questions about my desk on Instagram, and that was a simple upgrade too. This desk came with silver legs and drawer pulls – I just spray painted the pieces gold, before assembling the desk, to coordinate with my desk chair. Since the arms of the chair are more of a matte gold the spray painted gold on the desk still works.


NIGHTSTAND
What you’ll need:
Ikea Hemnes nightstand
a cute knob from World Market, Anthro, or a vintage find on Etsy
I just swapped out the plastic black knob with a brass one I found at World Market. I went simple gold, but you can try a more whimsical one, or a hand painted one, depending on the rest of your decor. Then I added a vanity tray that was about the same size as the top of the nightstand, to kind of fake a mirrored furniture effect.


PHOTO GRID
What you’ll need:
your printed photos
I had my travel instagram photos printed from Artifact Uprising as 5x5" matte prints. Then I cut 4x4” squares from foam core and used double sided tape to stick them to the back of each photo. Using poster tape, I mounted the photos to my wall in a grid. The poster tape is great because it won’t damage the wall, and the photos are light enough that you don’t need anything more than that.